Here's what makes it really work.....
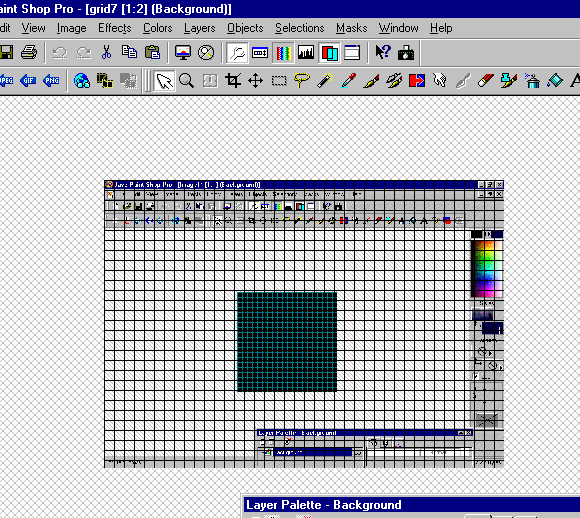
Step 6: While staying in PSP, hit
the Alt > Prt Scr (print screen) keys at the same time. Now in your
PSP menu, select Edit > Paste > Paste as New Image. Your new screen
should look like the one below....hey, wait a minute! Just scroll
down to the next step, everything will be OK.

Step 7: Let's get rid of that other
grid. Select View > Grid. Make sure the grid button is up.
Your screen will now be rid of the other unwanted grid.

Step 8: Working with this image at
full size can be very confusing because you will have duplicate menu bars.
Select your crop tool  and let's make this image a little easier to work with.

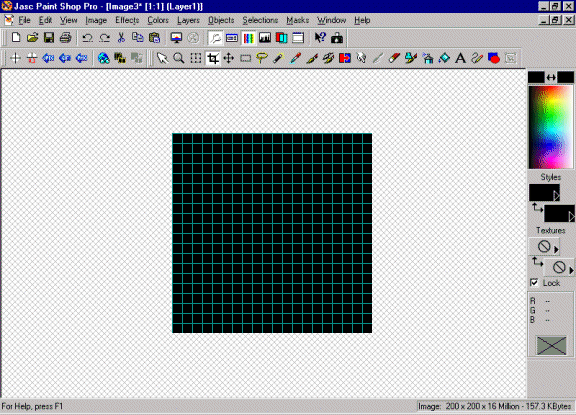
Step 9: Select your crop tool  and let's crop out all the excess space. Remember, your finished
image should be 200 x 200 pixels. Keep an eye on the numbers in the
left hand corner when cropping, the numbers in parentheses (### x ###)
to the right of the equal sign (=) is the size of your crop. Also
on the very edge of your image, the crop guidelines often change color,
giving you a hint where the edge is.

Save your finished tile as a .gif .
Because it's only 2 colors, you can compress the file very nicely.
Now it's ready for your desktop, webpage, or graphic application.
VARIATIONS FOR YOUR FINISHED TILE:
1. Alter the layer transparency of
the finished tile for a lighter effect.
2. Using magic wand selection tool,
select the grid and a a light shadow for a slightly dimensional effect.
Experiment and most of all, have fun :)
Take me back to the first
page.
